I recently installed a new SSD onto my machine. I wanted to get the most out of its speed, so I completely reinstalled my system. Then I cursed myself for not taking notes on the different elements that make up my development environment before doing so.
Setting up a new development environment is something that happens quite often in our industry, whether you are starting a new job and your employer provides you with a new machine to work on, or whether you are a beginner diving in this scary yet intriguing world that is Web development.
This article is meant to guide you (& future me 🤷) into spinning up a working development environment as easily and as fast as possible. It is give you a general overview, even though there are some opinionated choices here and there.
Note : this guide is primarly intended for Web Development on macOS, as this is my system of choice for that usage. I plan to add instructions for Linux users in the future. If you are a Windows user, please do yourself a favor and install WSL2 😀
A Package Manager
A package manager is used to install, update and manage libraries and applications directly from your Terminal at system level. The options here are very limited, but that's not necessarily a bad thing. The consensus in the macOS community is to use Homebrew.
First we need to make sure that the CLI tools for Xcode are installed. Open your Terminal and run the following command :
xcode-select —-installOnce the installation is complete (which could take a few minutes), install Homebrew:
/bin/bash -c "$(curl -fsSL https://raw.githubusercontent.com/Homebrew/install/HEAD/install.sh)"A better Terminal experience
1. Configure your Terminal
If you are a Web Developer, your Terminal is like your third home (the second one being your IDE 😎 ), so it's best to pimp it a little to make it as efficient as possible. I personally like the default macOS Terminal, but I know some people might prefer more customizable alternatives, such as iTerm2 or Hyper.
2. Use zsh as a shell
Next we will want to make sure we are using zsh as our shell. It should be the default one since macOS 10.15 Catalina was rolled out, but you can check this by running this small command :
echo $0If this outputs -zsh, then you're good to go to the next step. Otherwise, chances are you are still running bash, and you may want to look into swapping them. Install zsh by running
brew install zsh3. Install oh-my-zsh
If you’ve never heard of oh-my-zsh, think of it as a super-enhanced version of your shell. It offers multiple shortcuts for Git that will greatly speed up your Git flow, for example:
gaa  # git add --all
gcam # git commit -a -m
ggl  # git pull origin $(current_branch)
gp   # git push
...
You can learn more about these shortcuts in this Cheat Sheet.
Let's install oh-my-zsh by running the following command:
sh -c "$(curl -fsSL https://raw.githubusercontent.com/ohmyzsh/ohmyzsh/master/tools/install.sh)"Voilà!
NodeJS, nvm and yarn
If you plan to develop for the Web, you can't pass on JavaScript-based tools. Whether it be for frontend or for backend development, you will need to have NodeJS installed on your machine to be able to run most of the development tools available.
1. NodeJS
NodeJS is a runtime that enables you to run JavaScript code from outside the browser, which allows you to write scripts and even complex applications such as web servers. You can install it by downloading the executable from their website, or by running the following command :
curl "https://nodejs.org/dist/latest/node-${VERSION:-$(wget -qO- https://nodejs.org/dist/latest/ | sed -nE 's|.*>node-(.*)\.pkg</a>.*|\1|p')}.pkg" > "$HOME/Downloads/node-latest.pkg" && sudo installer -store -pkg "$HOME/Downloads/node-latest.pkg" -target "/"Check that it is correctly installed by running
node --version
# v16.1.0
2. nvm
This stands for Node Version Manager. It allows you to have multiple Node versions installed on your environment and to seamlessly switch between them. This is particularly useful in case you have to work on legacy applications using old Node versions, but also if you are working on new projects using recent releases.
Let's install it :
curl -o- https://raw.githubusercontent.com/nvm-sh/nvm/v0.38.0/install.sh | bash

# Installing...

export NVM_DIR="$([ -z "${XDG_CONFIG_HOME-}" ] && printf %s "${HOME}/.nvm" || printf %s "${XDG_CONFIG_HOME}/nvm")"
[ -s "$NVM_DIR/nvm.sh" ] && \. "$NVM_DIR/nvm.sh" # This loads nvm
Then restart your Terminal and run nvm to check that the installation was successful. It should generate a list of available commands.
If you get something like nvm: command not found, try running
source ~/.zshrcYou are now able to install multiple Node versions. For example, you can run the following commands to install Node 12 and start using it immediately:
nvm install 12
nvm use 12

# Let's verify the version has changed
node --version
# v12.22.1
3. yarn
By default, Node installs a JavaScript package manager called npm. It's also worth knowing that this name can be used to refer at the official registry for Javascript packages. While npm is a solid default choice for package management, there is an alternative named yarn that can bring some interesting benefits, one of them being the packages installation speed.
Let's install it globally :
npm install -g yarnYou are now free to configure and add to it for each project. Read this article to know more about it.
Configure Git
Normally, Git should already be installed on your machine. You can check this by running git --version. If the output is incorrect, run:
brew install gitYou can now enter your Git credentials (don't forget to replace ‘John Doe’ with the correct values):
git config --global user.name "John Doe"
git config --global user.email johndoe@example.com
The IDE
This is it. After all these steps copy-pasting commands into the Terminal and waiting for downloads to be completed, we are finally going to install the last piece of the puzzle – the IDE. This acronym stands for Integrated Development Environment. Basically, it’s a place to edit code files that has life-changing features like syntax highlighting and autocompletion, which will drastically improve your web developing quality of life.
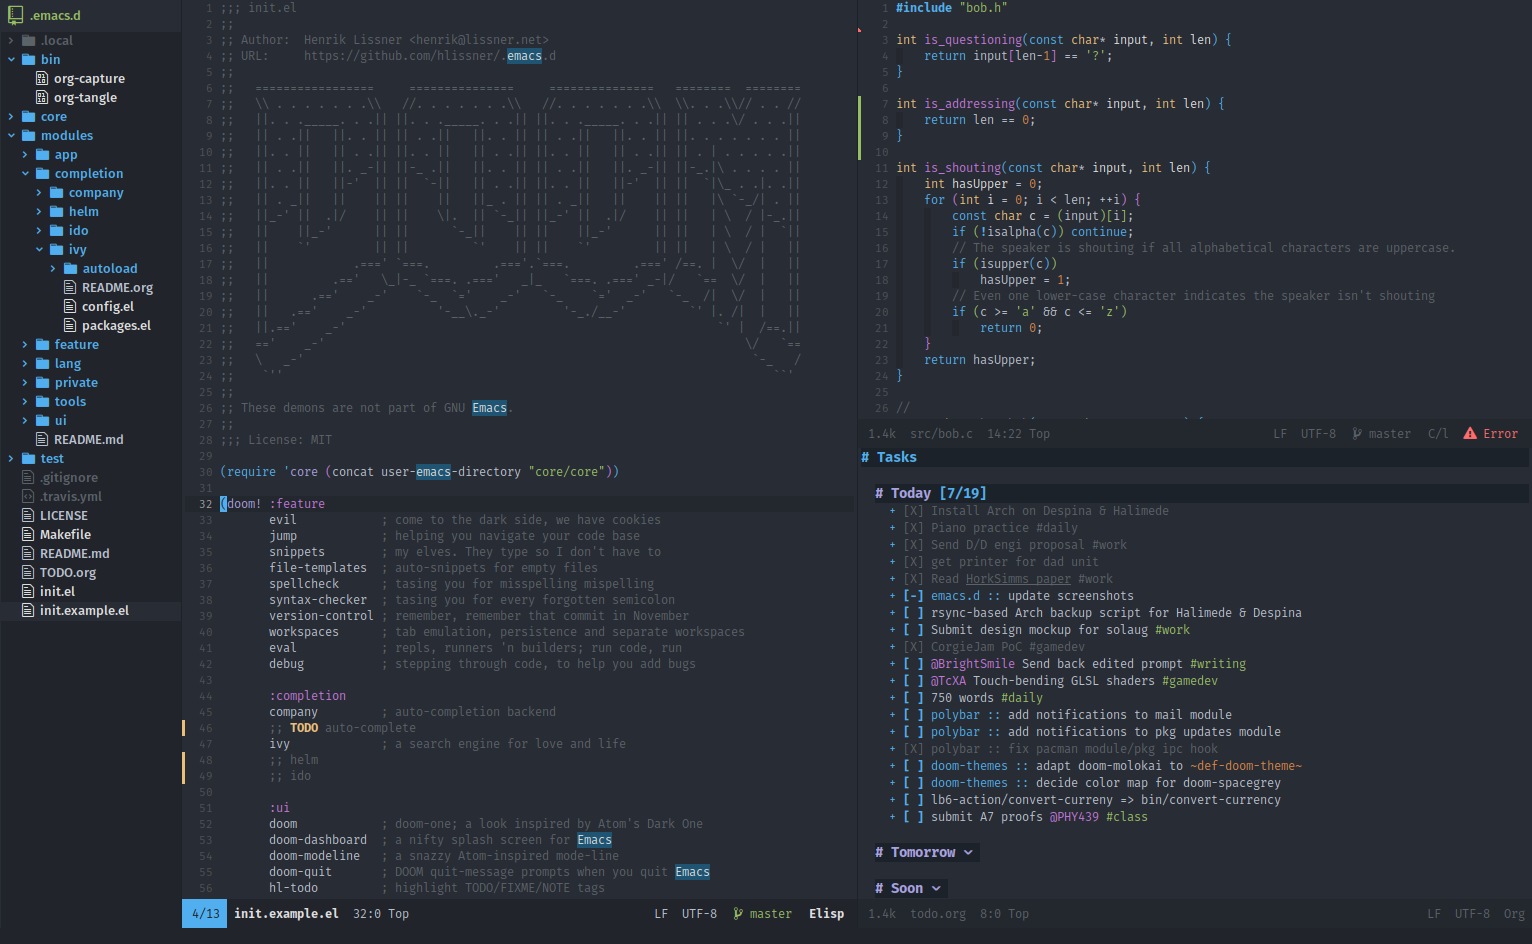
There are a lot of IDEs to choose from, all of them with their own pros and cons. Since most of them are viable choices, it really comes down to personal preference (and habits). In my case, I was a long-time VS Code user before recently switching to Doom Emacs. Even though VS Code is a super solid choice, with regular updates and cutting-edge features, I feel like Doom Emacs increases my productivity in the long run.
Doom is a little bit more complicated to install than most modern IDEs, so I will detail the different steps to easily spin-up an installation. Keep reading if you want to come to the dark side. 😈
Bonus : Installing Doom Emacs
 First of all, what is Doom Emacs? Let's hear from its creator:
Doom is a configuration framework for GNU Emacs tailored for Emacs bankruptcy veterans who want less framework in their frameworks, a modicum of stability (and reproducibility) from their package manager, and the performance of a hand rolled config (or better). It can be a foundation for your own config or a resource for Emacs enthusiasts to learn more about our favorite operating system.
In short, Doom Emacs is a super configurable IDE based on Emacs, which allows you to use vim keybinding thanks to its evil-mode. This lets you basically use shortcuts for literally everything, whether it be to edit code, manage files and directories, or execute Git commands, etc. The intended goal is to make it possible for the user’s hands to never leave the keyboard. Ever.
Now for the installation. You can have a look at the official Getting Started page. Or you can run the commands listed below , gathered for your convenience:
# Dependencies
brew install git ripgrep coreutils fd

# Install emacs-mac
brew tap railwaycat/emacsmacport
brew install emacs-mac --with-modules
ln -s /usr/local/opt/emacs-mac/Emacs.app /Applications/Emacs.app

# Add Emacs to PATH
echo "export PATH="/Applications/MacPorts/Emacs.app/Contents/MacOS:$PATH"" >> ~/.zshrc

# Install Doom
git clone https://github.com/hlissner/doom-emacs ~/.emacs.d
~/.emacs.d/bin/doom install

# Add Doom to PATH
echo "export PATH=”$HOME/.emacs.d/bin:$PATH”" >> ~/.zshrc
Now feel free to clone your private Doom configuration into ~/.doom.d if you already have one. Don't forget to install custom fonts if needed.
Conclusion
I hope this guide was helpful and that it will allow you to speed up the process of setting up a new environment. This is, of course, not a comprehensive list of web development tools – I tried to focus on the essentials, although this is quite a vague and subjective notion, and you may find that some of your essential tools are not listed there. Feel free to contact me if you have any suggestions or if there is anything I forgot to mention.
Thank you for reading and happy coding!